4 Ways to Create More Interesting Illustrations with Patterns in Photoshop

4 Ways to Create More Interesting Illustrations with Patterns in Photoshop

Texture is one way to instantly bring warmth and pizzazz into your digital artwork. But with so many options available, which do you choose? And how do you know what to do with them?

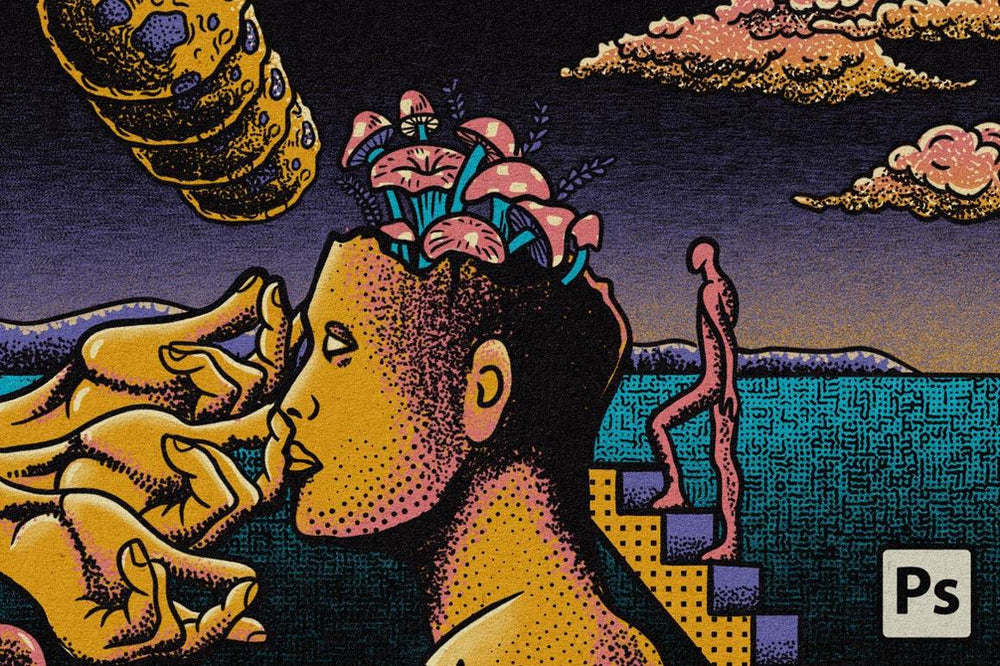
Lucky for you, pattern texture packs like TransferTone offer a wide variety of textures to choose from. Inspired by dry transfer sheets from the graphic design days of the 70s and 80s, TransferTone is designed to make your illustrations fun–fast.

Watch the video below or read our step-by-step synopsis for quick tips on making your illustrations more interesting with TransferTone in Photoshop.

Can't watch the video? Here's what you missed:

Applying patterns on a new layer in Photoshop.

Apply Patterns on a New Layer in Photoshop

  1. Create a new layer within the Layers window after selecting your pattern and paint color.
  2. Paint on the pattern with your mouse or tablet.
Applying patterns using clipping masks in Photoshop.

Apply Patterns with Masks in Photoshop

  1. Create a new layer above where you would like to apply the texture within the Layers window after selecting your pattern and paint color.
  2. Right-click the blank layer and select Create Clipping Mask.
  3. Paint on the pattern in the newly created clipping mask with your mouse or tablet.

Make Gradient Textures with Shader Brushes in Photoshop

TransferTone includes solid and shader varieties of each brush.

  1. Create a new layer within the Layers window after selecting your pattern and paint color.
  2. Create a gradient effect by applying a controlled increase in pressure over the desired area.

Note: You can use this technique with either the New Layer or Clipping Mask methods described above. Only tablets with pressure sensitivity enabled will be able to utilize this technique.

How to resize a pattern brush in Photoshop by RetroSupply Co.

Resize Patterns in Photoshop

  1. Select the brush you would like to use in the Brush Menu.
  2. Navigate to the Brush Settings Menu.
  3. Click the Texture tab and type in your preferred scale.
  4. Minimize the Brush Settings Menu and paint using a mouse or tablet.

Note: For more assistance with resizing your brush's texture, you can read our tutorial here.

💡Top Tip: To speed up your workflow you can create multiple copies of your brush in different texture sizes. After making your desired changes in the Brush Settings Menu click the + icon in the lower right corner. This will create a new brush with your desired settings.

perfect patterns

A love letter to late 20th century design techniques, TransferTone takes the unique and quirky world of dry transfer textures into the new millenium.

Effortlessly apply high quality pattern textures over your work in seconds. No experience needed! Just pick a pattern and draw.


Other Tutorials We Think You'll Enjoy

HOW TO USE HALFTONE BRUSHES IN PHOTOSHOP

New to Photoshop, halftone brushes, or both? No need to worry. We're here to help! Watch or read our easy step-by-step guide on how to use halftone brushes in Adobe Photoshop. We'll be using the ColorLab Color Comic Kit to demonstrate. Follow along and get creating in no time!

View the tutorial.

HOW TO USE PAPER TEXTURES IN PHOTOSHOP

Paper textures are a fast and easy way to bring authenticity and warmth to your digital art. If you haven't used them with your work, you might be scratching your head on what to do. We're here to help! Follow our step-by-step guide on using paper textures in Adobe Photoshop and the ColorLab Comic Color halftone kit.

View the tutorial.

LO-FI GRAIN & NOISE PHOTOSHOP MASK DEMO

Adding texture to your work can bring charm and a touch of vintage to your otherwise squeaky clean digital art. Follow along as we show you two lightning-fast ways to add retro charm to your art in Photoshop using Clipping Masks, Alpha Lock, and Layer Masks.

View the tutorial.