Adding subtle textures to your final work is a great way to add an organic element to your final project.
In this tutorial I'll show you how to apply realistic textures to a SpaceRanger illustration using multiple layers and something I call subtractive texturing.
Video Contents
0:00 - Overview (using layering and subtractive methods to achieve realistic textures)
1:27 - Adding a background paper color to your work
2:52 - Creating a layer mask on the base color
3:04 - Choosing the right brush for the job
3:38 - Apply texture to the layer mask of the base color
4:44 - Subtly expose the base color by distressing your illustration
5:40 - Sharpen your textures using Filter > Sharpen > Unsharp Mask (optional)
6:25 - Wrap-up and final tips
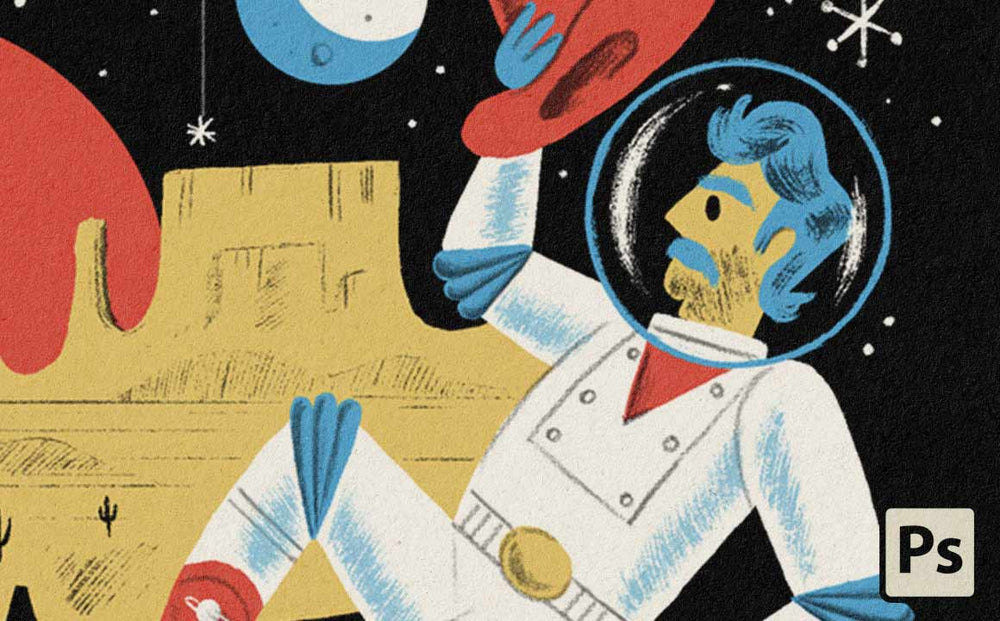
Want to learn exactly how to create this illustration (plus get all the brushes too)?
If you want to learn exactly how to make illustrations like the one above you can grab the SpaceRanger Brush and Tutorial Pack here. See below for a breakdown of what you get.
When you pick up the pack you'll get:
- 20 Photoshop Brush Tool Presets (including pencils, conté crayons, form builders and subtle print textures)
- 3 SpaceRanger tutorials and 2 bonus tutorials that teach you EXACTLY how to create the kind of illustration in the video (taught by Brad Woodard).
- The RetroSupply Better-Than-Money-Back Guarantee (If you don't feel like this product ups your illustration game and makes you a better illustrator just send us a brief email within 60 days. We'll refund 100% of your money. No questions asked. Plus, you keep the product.)
Click here to grab the SpaceRanger Brush and Tutorial Pack now
Recommended Tutorials
How to Create a Mid-Century Inspired Space Pistol Illustration in Photoshop
3 Tips for Using Vector Brushes in Illustrator with Ralph Cosentino
How to Do the Work You Love (an Interview with Brad Woodard)