Risograph Print Pack for Procreate

Risograph Print Pack for Procreate

With the Risograph Print Pack Template, you can you can create beautiful recreations of traditional Risograph printing in seconds.

Transform your illustrations quickly with our easy to use Procreate template. Choose from a range of customizable textures to create your ideal digital artwork. Mock-up your designs to go to the Risograph printer for no suprises or headaches.

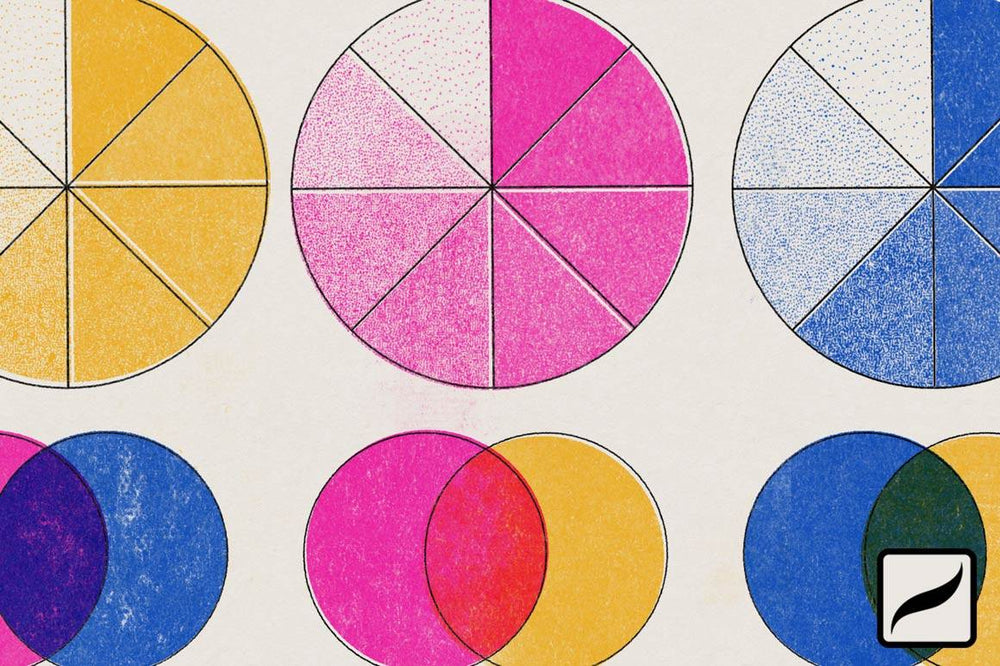
Follow along as we demonstrate how to bring iconic Risograph textures to your digital artwork.

Can't Watch the Video? Here's What You missed:

    1. Create a new canvas to whatever size you need.
    2. Tap the Actions icon. Tap Add. Tap Insert a file. Locate the paper texture and add it to the canvas.
    3. Scale the paper to fit the canvas.
    4. To make the paper texture smaller, scale it down and then duplicate the layer. With snapping enabled move it to line up with the other paper layer. Repeat until you have filled your canvas. Tap Merge Down until you have joined all paper layers.

Full Page Textures

    1. Make a new layer above the color layer to which you want to add the texture.
    2. Tap the Actions icon. Tap Add. Tap Insert a file. Locate a full page texture and add it to the canvas.
    3. Scale the texture to fit the canvas.
    4. In the Layers Panel, tap the N to set the blending mode to Screen.
    5. Tap the layer and tap Clipping Mask to clip it only to the layer below.
    6. You can tap the Mouse icon and move or scale the texture to your needs.
    7. Repeat those steps to apply Risograph textures to your other color layers.

💡Top Tip: When using the same texture on two or more colors, be sure to offset the texture for the most authentic look.

Seamless Textures

    1. Make a new layer above the color layer to which you want to add the texture.
    2. Tap the Actions icon. Tap Add. Tap Insert a file. Locate a seamless texture and add it to the canvas.
    3. Scale the texture to your desired size.
    4. Open the Layers Panel and duplicate the layer. With snapping enabled, move it to line up with the other paper layer. Repeat until you have filled your canvas. Tap Merge Down until you have joined all paper layers.
    5. Tap the N on the layer and set the blending mode to Screen.
    6. Tap the layer and tap Clipping Mask.
    7. Tap the Mouse icon and move the texture if needed

Tips & Tricks

You can also apply the textures to gradient color and keep the shading effect.

    1. Add a Risograph texture of your choice in a new layer above the gradient color layer.
    2. Tap the texture layer and tap Clipping Mask.
    3. You can get even more variety in the textures by tapping the texture layer and choosing invert to invert the texture.

This trick works with both the seamless and full page textures.

A Print Shop in Your Computer

Create the authentic look of Risograph prints quickly and easily with our extensive range of Risograph brushes, actions, templates, and more.

Other Tutorials We Think You'll Enjoy

How to Install Procreate Brushes on Your Mac, PC, and Ipad

There are multiple ways to install Procreate brushes, whether using a Mac, Windows PC, or iPad. The RetroSupply Co. Team has laid out the fastest and most efficient methods for installing your new brushes, no matter your devices. Follow along and get creative!

View the tutorial.

HOW TO GET REGISTRATION ERROR

A natural quirk of traditional printmaking is registration error. When one layer of color is off-register compared to the other layers. Modern printers and digital art lack this quirk unless you do it on purpose. That's where we come in. In these easy-to-follow, step-by-step instructions, we'll show you how to create registration errors in your digital artwork.

View the tutorial.

HOW TO CREATE PRINT DISTRESS

Weatherization, age, and handling can affect the look of traditional prints. This causes a natural distressing that is missing in digital artwork. In this easy, step-by-step set of instructions we'll show you how to achieve this touch of authenticity to your work.

View the tutorial.