
You've probably noticed that in real life print work is imperfect. Everything from that tag on your new jeans to the Grayhound bus ticket you saved from that summer trip.
Nothing remains perfect.
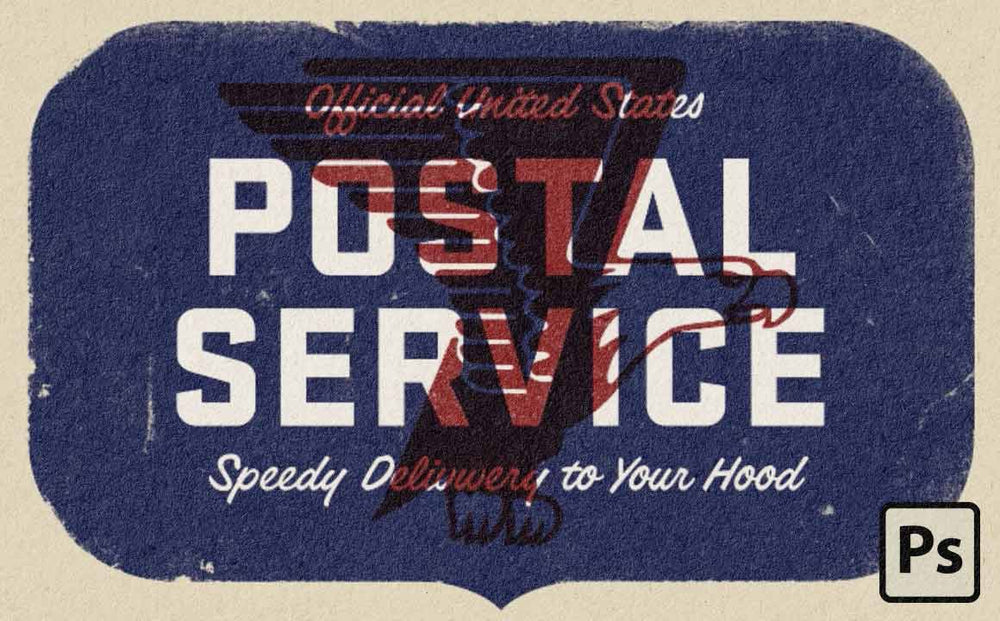
In this tutorial I'll show you how to roughen the edges of your work in Photoshop.
I'll be using the RetroSupply Edge & Fold Distressor Pack.
Click here to get the Edge & Fold Distressor Pack FREE!
Just like quality leather gets more beautiful with age – some printed work becomes more beautiful as time passes.
This is the result of things like (about to get nerdy here):
- Yellowing as the result of oxidation of cellulose content in paper
- Ink smear and distress as a result of humidity on carbon based inks
- How much bending paper can take before breaking (folding endurance)
Each of these elements can result in great looking work. Unfortunately, most of us don't have the time to sit around and get these results naturally. So I've created a simple tutorial that will help you achieve the effect.
Plus, as a special bonus I've included a 12 brush pack you can download for FREE. It's called The Edge & Fold Distressor Brush Pack and I think you'll like it!
Comments
Michal Hirshfeld
Thank you so much for your amazing and so clear tutorial! I wish you were my teacher, you explain so clearly and your voice is very calm.
I am a customer of Retro supplies and enjoy much of their products and tutorials.
Thanks for the brushes.
March 06, 2020
candice
thanks for the clear tutorial dustin, i’m using affinity photo on my ipad and i’m happy to find that it works in there too! i’m having so much fun playing with all the awesome retrosupply brushes in affinity photo and designer :)
December 03, 2018
Suzanne at RetroSupply
Thanks to everyone for the awesome feedback!
Elmas, you could make the brushes smaller and go around the edges of the letters. Or you could roughen the letters with effects, as we show in this tutorial: https://www.retrosupply.co/blogs/tutorials/152748231-the-easy-way-to-roughen-your-typography-in-illustrator
Thanks for the great tip Bethany!
June 30, 2017
Bethany
I wanted to share that these brushes would also work great for a hand-printed look to digital art. I used to do traditional printmaking and it was those little places where there was ink loss that gave a print it’s warmth and character, much like vintage commercial printing. Thank you for this tutorial! Now I want to go make something!!
June 02, 2017
Ted
Great tutorial.
Easy to follow and learn.
Thank you for the brushes.
Awesome.
May 15, 2017
Kitty
Thanks so much Dustin (& crew)
:)
February 11, 2017
Steve
Great brushes and the video is very helpful. Thanks!
January 21, 2017
Elmas
Great video! Any tips on roughening the ages around the bigger “Postal Service” text? Thanks.
October 10, 2016
Alicia
Thank you Dustin for taking the time to present yet another awesome video tutorial! You’re a gifted teacher I must say. Roughened edges is now my new obsession, and so are these new brushes. Much appreciated! ;)
July 01, 2016
Mikael
Thank You Dustin for the great tutorial and freebies. The best quality ; )
July 01, 2016
neisha
THANK YOU! Great tutorial! Simple and direct but so powerful for a novice like me. You’re help is priceless and so appreciated. Rock On!
June 30, 2016
Valerie
Thanks, Dustin! Great tutorial and brushes!
June 30, 2016
Mario
Thank unfortunately Brushs not work in CS5
June 30, 2016
Stuart Holmes
Thanks Dustin – very useful tutorial. I’m an Adobe illustrator purist and rarely use Photoshop for my illustration work, but can certainly see the merits here for adding that texture in PS.
June 29, 2016
Kristiina
Thanks for the brushes! I like the effect. The tutorial is very helpful.
June 29, 2016
Su Hall
Looks good! I like the effect! Thank you for the brushes!
Su
June 29, 2016
Matt
On way to make an stamp-like edging brush like that angle more easily is to set the angle in “shape dynamics” to pen tilt. This allows you to rotate the brush around to get the desired angles. You need a stylus that has tilt capability tho. It’s a great way to rotate “stamp-like” brushes.
June 29, 2016
Josué Menjivar
A successful business is built by having a relationship with their clients. RetroSupply Co. does just that. With a steady stream of tips, everyday conversations on Facebook and their awesome tutorials. These excellent forms of communication are genuine gestures and not to hard sell you anything, simply to let you know they care about their clients. This tutorial is an example of that. No hard sell, just teaching and inspiring creativity. Dustin even gives you a free set of quality brushes so you can play along. This is why I’m a loyal customer.
June 29, 2016
Kimara Winters
Thanks for the clear and concise tute (not to mention the freebie pack). Black conceals, white reveals — I like it~
June 29, 2016
Leave a comment
Also in Tutorials
How to Get Registration Error
Continue reading
How to Create Print Distress
Continue reading
How to Make a Lo-Fi Two Color Illustration with DupliTone
Continue reading