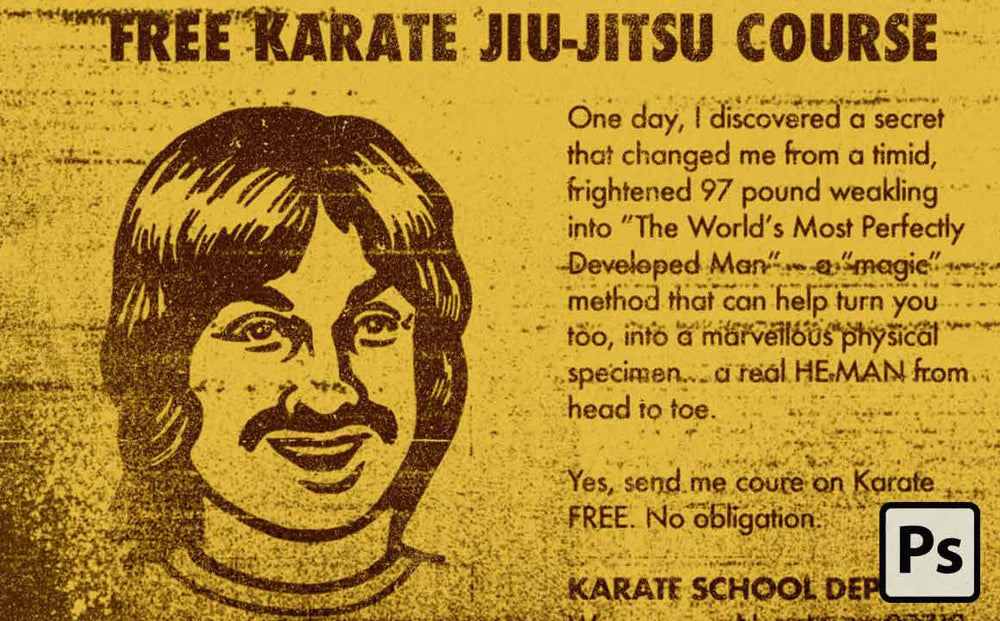
We recently released a pack called the Photocopy Hate Machine (most hilarious product name to date, I think).
It turned out to be harder that I thought to make a photocopy texture pack. So I thought I'd share some of the tips I picked up while making the pack!
These tips will help you make your own photocopy textures for Adobe Photoshop, Affinity Photo, or your favorite raster based design software. You might need to slightly adjust how you work but the idea is very similar across software.
Step 1. Gather items to help you make your photocopy textures
You can get some great looking photocopy textures just by experimenting with the photocopy machine settings. But you'll get even more interesting effects if you bring some materials with you.
Below are some of the textures we tried out when building our texture pack.
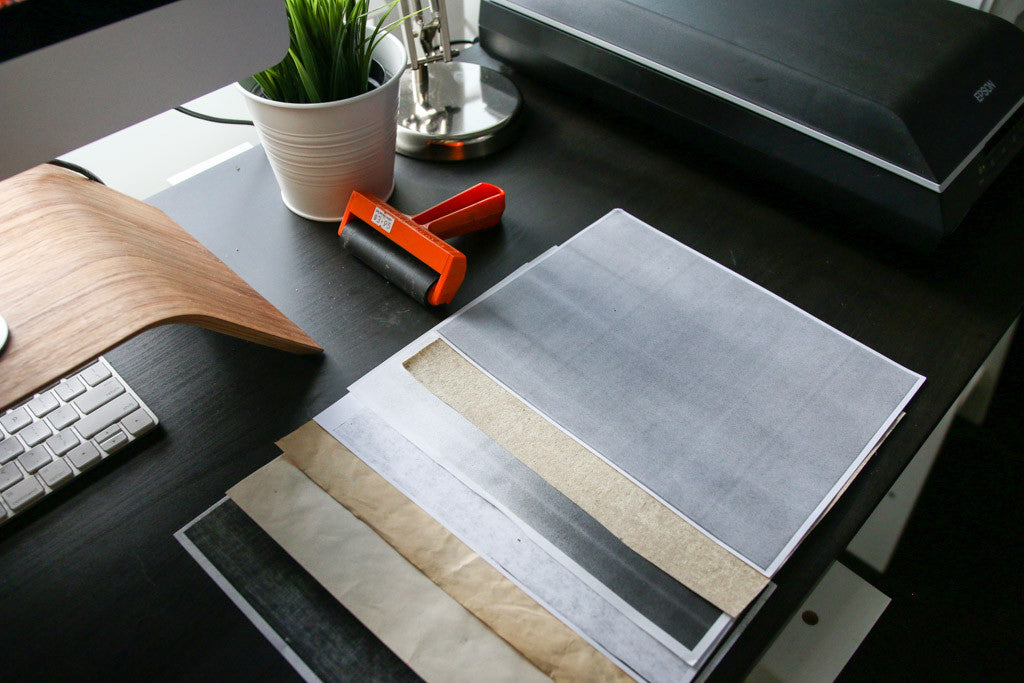
Here's some easy stuff from home I used to make photocopy textures:
Paper. If you just copy a plain white piece of paper in a copy machine you'll likely just get a plain white piece of paper out the other end.
So try printing out a variety of grayscale gradients onto paper to bring with you. This will give the copy machine something to work with.
I found that when I photocopied a gradient there would be an area where the copy machine started to pick up the dark color more intensely. This resulted in a banding effect that looked really cool!
Historical documents. Here at RetroSupply we're all about adding some history to our work. So we grabbed some old documents that had oxidation and yellowing in them.
We used some of my grandfather's WWII Navy documents and some of the blank pages from old books.
Don't have any old documents? Poor some tea in a shallow cookie sheet and then set a piece of paper in the tray. The longer you let it soak the darker and more yellowed the paper will look.
Remove the paper and let it dry and you'll have some old looking paper!
Miscellaneous. What do you have lying around your house that might make some interesting photocopy textures? We experimented with cardboard, linoleum, and leather and got some interesting effects.
Step 2. Make photocopies
Once you've assembled your materials, it's time to take a trip to the copy shop.
Photocopy different pieces of material and adjust settings to extremes. Here's some setting we found gave great results (they may have different names depending on the model of copy machine you're using):
Density. Density seems to set the contrast of black and white. Try pushing it to the max for more intense photocopy textures. Lower the density down a bit for subtle toner shading.
Sharpness. Setting the Sharpness to low would sometimes result in toner "bruising" type effects. Setting the Sharpness to high would often result in copies that overcompensated for variations in shade resulting in some interesting textures.
Eco-Friendly. This setting turns down the amount of toner that is output from the machine. The results in more shades of gray in your copies.
Here's some other things we tried to get more intense and unique photocopy texture effects:
- Copy the copy the machine outputs
- Open the copy machine as it's scanning
- Pull the paper you're copying as it's scanning
- Copy with the lid open
- Try multiple machines
- Ask which machine is oldest or lowest on toner
If you make enough copies you might get "lucky" and the machine will jam. This can result in some weird toner smears. FYI the copy machine attendant will look at you weird when you insist upon keeping this sheet!
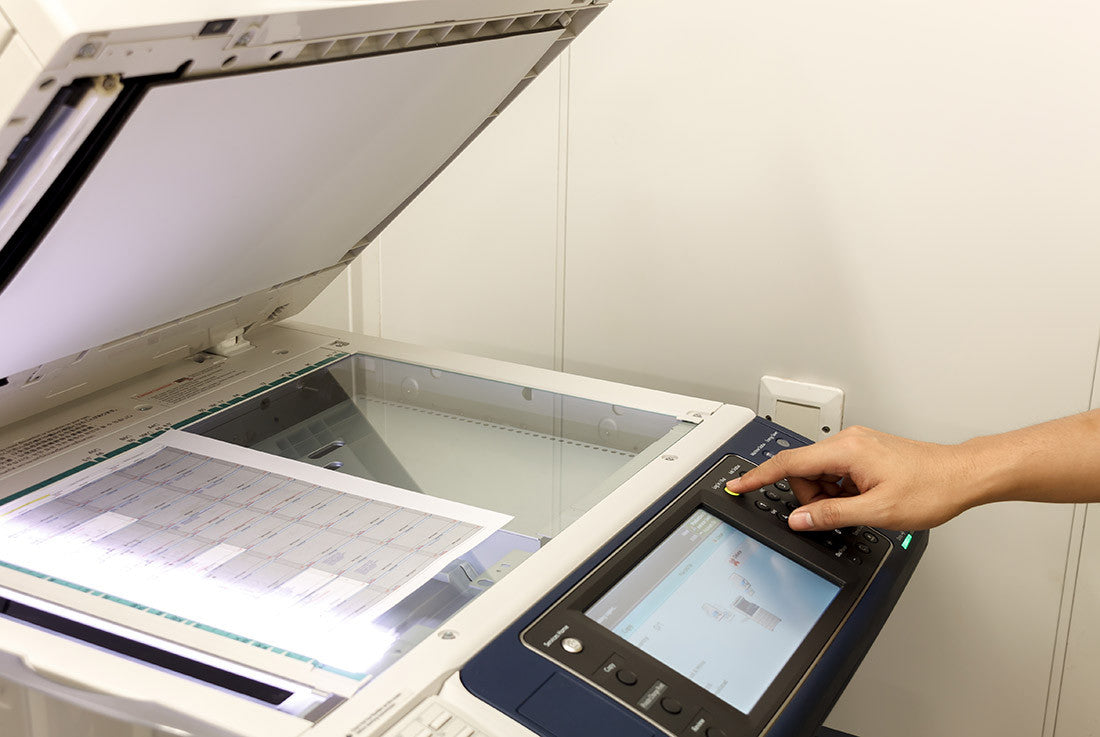
Step 3. Scan your photocopies
Next, head home and get ready to start scanning your photocopies into your computer for further processing.
Choose your favorite copies and scan them. Ideally, you want to do this with a stand alone photography scanner. Photo scanners have a higher DPI (mine goes up to 12,800 DPI) and the superior software that comes with it.
I used an Epson Perfection V600.
If you don't have a photo scanner a regular scanner on your printer will work just fine (your textures just won't be as detailed or large). Just set it to the maximum DPI (on most printer scanners this is 600 DPI).

Here are the settings I used on my scanner to capture my textures:
Document Type: Reflective
Document Source: Scanner Glass
Auto Exposure Type: Photo
Image Type: 8-bit Grayscale
Resolution: 1200 DPI
Note: Scanning at 1200 DPI takes quite a bit longer than 300 or 600 DPI. So be prepared to spend a few hours doing this.
Step 4. Process your best images
Now for the fun part. Preparing your textures for using in your designs!
We experimented with six ways of presenting the textures. We finally decided on three diverse ways to provide the textures. Bitmap TIFFs, Photoshop ABR brushes, and a Smart PSD.
My favorite is probably the Bitmap TIFFs.
Bitmap TIFFS are black and white, so you get high contrast results and smaller file size.
They work great in Illustrator. You can place them transparently on top of your design and change the color of the texture. This made Bitmap TIFFs popular with our customers.
Checkout how easy it is to add them to Illustrator and change the color!
To process our textures here's what we did:
1. Open the texture in Photoshop. Simple. Just drag one of your scanned images into Photoshop.
2. Adjust Levels to increase contrast. Your scanned textures will have a lot of shades of gray in them. I prefer to tighten up the Levels (Adjustments > Levels) so it's a pure black with high contrast. This makes it so the textures add more dimension, pop of the screen a bit more, and easier to use for screen printing.
3. Convert to Bitmap. Like I mentioned earlier, Bitmap TIFFs are my favorite format. To make a Bitmap TIFF you'll need to go to Edit > Color Mode and change your work to Grayscale. Then from Grayscale change it to Bitmap.
Step 5. Organize them for easy future use
If you don't use your textures, the entire process was pointless. Plus, it can be fun to organize your textures. Especially if you want to share them with others.
Give your texture pack a name and then organize it into sections based on format. Here's how we organized the Photocopy Hate Machine pack:

Give the main folder a name that describes it and puts a smile on your face.
Lastly, be sure to save the file to somewhere you'll be able to get quick access. That way you don't forget it exists and never use the textures.
For this, I like to make a parent folder for my textures and effects and then drag it into the sidebar of my Finder (Mac), so I can get to my resources in one or two mouse clicks.
Don't Want to Make Your Own Textures? We did all the work for you!
I hope you found this tutorial on building a photocopy texture pack useful.
If you read this and thought this seemed like entirely too much work (or your insanely busy and want to save a ton of time) you can pick it up in our shop for a great price.
Here's what you'll get:
- 55 high-resolution Bitmap TIFFs
- 75 huge photocopy brushes for Photoshop
- 1 Smart PSD for instant photocopy effects (drop your work in and save)
- 2 Photocopy Hate Machine reference sheets (TIFFs and brushes)
- Easy to follow PDF instructions
Click here to grab Photocopy Hate Machine now.
If you have any questions or comments leave them in the comments section below. I'll be checking them for the next few days and be sure to answer!