Can't Watch the Video? Here's what You missed:
The Eraser Method
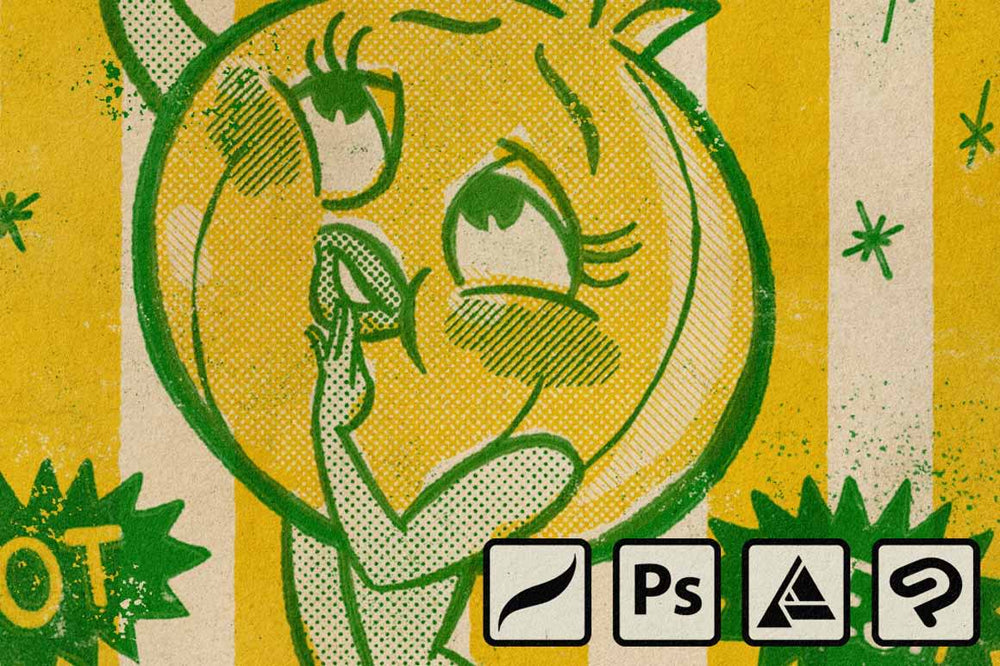
When it comes to adding a distressed effect to your design work, there are a few methods you can use to achieve that gritty, vintage look. One popular technique is the Eraser Method, which involves using a brush as an eraser to selectively remove parts of your design.
-
- Open your design in your software.
- Locate the brush window and select a distressing brush.
- Switch the brush to an eraser (this will vary slightly depending on the software you are using).
- Use the brush/eraser to erase parts of your design that you want to distress.
- Continue erasing until you achieve the desired level of distressing.
- Save your edited design.
The Layer Mask Method
If you're looking for a less destructive and more customizable approach to adding a vintage, gritty effect to your designs, the Layer Mask Method is here to save the day. Get ready to conceal and reveal your way to the perfect distressed look!
-
- Open your design in your preferred graphic design software.
- Click on the "Add Layer Mask" button (this varies by software — for example, Add Layer Mask is located at the bottom of the Layers panel in Photoshop).
- Select a distressing brush from the brush tool options.
- Make sure that the color of the brush is set to black (areas that have black on the mask will be concealed).
- Use the brush tool to paint over the layer mask of the duplicated layer where you want to conceal parts of the layer, creating a distressed effect.
- Adjust the brush settings as needed, such as size and opacity.
- Continue painting over the layer mask until you achieve the desired level of distressing.
Conclusion: Print Distress Effects
Adding print distress to your design and illustration is a fantastic way to give your work that vintage, lived-in feel.
Whether you prefer the Eraser Method, the Layer Mask Method, or a combination of the two, there are plenty of techniques and tools available to help you achieve your desired level of grit and character. So go ahead, experiment, and don't be afraid to get a little bit dirty with your design work!