Comic History: Texture and Print

Comic History: Texture and Print

Learn how to create retro-style artwork with this in-depth series. Discover the secrets behind making authentic retro artwork using concepts inspired by traditional techniques, tools, and media.

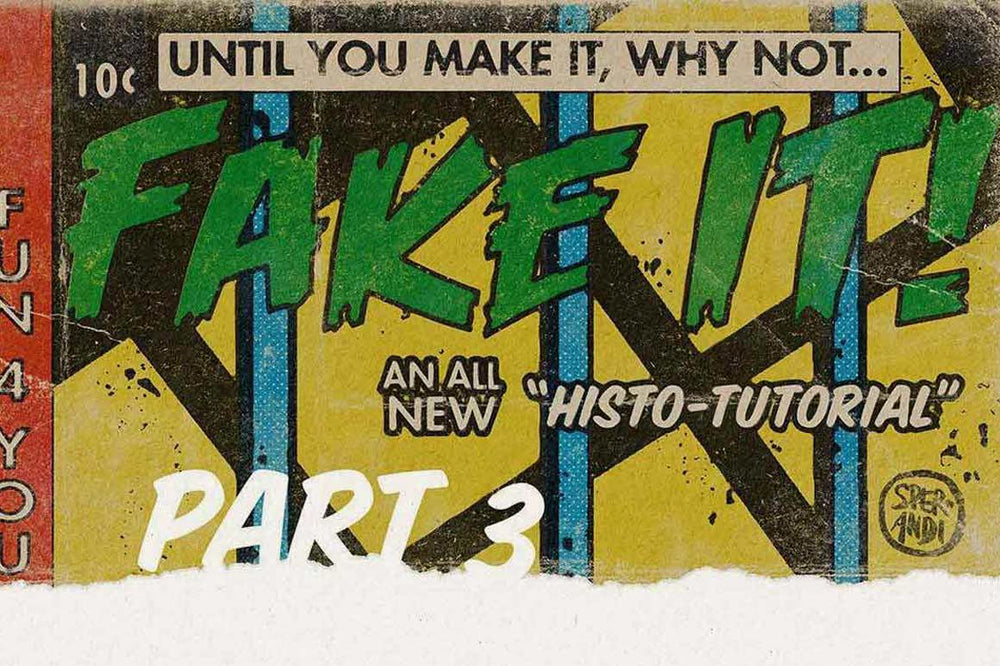
In part three of this series, we’ll explore texture including the impact of ink, paper, aging, and the environment artwork lives in.

If you haven't already, we recommend reading the first two articles in the series: 

Comic History: Linework and Print (Part 1)

Comic History: Color and Print (Part 2)

“Mint Condition” is for AMATEURS

This is the last of three articles aimed at helping artists make works that simulate cheaply printed comic books, all with the help of RetroSupply tools.

The previous entries, line and color, are obvious aspects, but without engaging the often-overlooked element of texture, it’s impossible to make a convincing simulation.

Texture is not only the quality of ink on the paper, but also the composition of the paper itself, not to mention the things that happen to the printed object – age, dirt, stains and wrinkles, creases and other damage from handling. The stuff of a comic collectors’ nightmares are tools in our mimetic tool box. “Mint condition” is for amateurs.

As stated previously, printing pre-dates paper. As you’ll remember, printing on pieces of silk (and bone, and bamboo, and ivory) progressed for hundreds of years, but when paper did appear, it quickly took over as the substrate of choice. It was light and strong, if not easy to produce.

Eventually, papermaking spread from China to Islamic countries. This led to the creation of paper mills in Spain, and eventually to the rest of Europe, squeezing out parchment (animal skins), as a writing material in Europe. Today, life without paper is unimaginable. Even in the world of the paperless office, mulched and dried wood pulp is everywhere.

The History of Paper Making

The origins of paper making are shrouded by time. However, it was rumored to be inspired by the, uh, “papery” construction of hornets’ nests. The composition of the earliest papers was of cloth fibers pulverized in water, spread out on mats and allowed to dry.

Later, Chinese paper making would incorporate mulberry bark and even old rope. As the technology spread, methods and varieties multiplied, but old rags remained the primary ingredient in paper until the 1840s. Paper was a highly sought-after commodity in the ancient world: expensive to produce, expensive to acquire.  

With the advent of the Industrial Revolution, paper changed, too. The industrialization of paper-making coincided with the innovation of using of wood pulp to make paper. Paper production in the Americas ballooned as its virgin forests shrank.

An interesting side note is the Meso-American product amate. Very similar to paper, but evolving separately, it was made from softened tree bark. Amate is now a popular handcrafted export, made by artisans.

The Rise of Newsprint

Newsprint is the headline here, born in Canada in the 1840s. Made from wood pulp, newsprint paper is cheap, strong enough to withstand industrial processes, and robust enough to handle four color inks without tearing -- provided control over the amount of ink is maintained.

Newsprint is named literally for its primary use, in newspapers. Off-white to begin with, newsprint is non-archival, meaning that it will yellow with age and exposure to sunlight, and will eventually disintegrate.

Take an old comic book (from the 1970s or earlier) and place it next to a sheet of computer paper from your home printer. The old comic will have an uneven yellow cast and the paper itself will be brittle. Depending on its condition, the old comic could even be moldy.

Again, the collector’s tragedy is our joy – meaning that the flaws and damage are the additions that will help sell our fakery.

Four Steps to Retro Trickery

Working in layers in Photoshop, we’ll build a layer cake resulting in a satisfying fake. Included with ColorLab are a number of high resolution scans of various sorts of old paper, including old newsprint. This is the foundation of our comic mimesis.

A Complete Kit for Comic and Print Fakery

Capture the look of vintage comic book printing with ColorLab. Get fine-tuned control of color layers, ink textures, line work, and more. Available for Photoshop, Illustrator, Procreate, and Affinity.

In Photoshop, this paper is the bottom layer. It’s yellowed with age, varied color pulp flecks, and stains. This most important aspect is also where we have no work to do. Step one is done.

The next layer up, will be our color layer. These are the color halftones we’ve built using ColorLab, and again, following their simple instructions, these halftones are convincing.

Set these color layers to multiply (or darken, whichever you like) and immediately you can see the magic starting to happen. The yellowed, varied paper shines through your colors, aging them, and codifying their decrepitude.

The third layer of our 4-color delight is our line work. Remember that ink coverage in old comics was thin and inconsistent. Your black line work will have to go through a process, as described in our tutorial on line work, turning it into an uneven, decidedly gray shadow of its former self. Do not turn back now. You’re almost there.

Set this foggy line-work to multiply (or darken, again) and watch it all come into focus. The line work, is no longer heavy. Where “black” areas cover color areas, you’ll see that color underneath.

Enjoy it for a minute, but, as always, compare it to the real thing (those scans of archived, vintage comics) and analyze what you’ve made. I think you’ll see that there’s one last step. Damage.

The final step for creating the real deal is to use the layer mask function in the Photoshop layers palette to create mask layers over your line work, and over your color work. If you’re not familiar with using layer mask, it’s a tremendous (and quick) feature of software – this isn’t the forum for an overview of Layer Mask, but you can learn more about layer masks in Photoshop here.

Using textures from the Edge & Fold Distressor Brush Pack, and a Quick Mask, you’ll paint on REVERSABLE wear and tear, adding years to the age of your artwork.

Exactly how and what you’ll damage is up to you, and will require a little trial and error until you get a combination that you’re happy with. That’s all there is to it.

The Wrap Up

Of course, these three short blog entries gloss over thousands of years of complex history, human achievement and misery, as well as the nuance of working in Photoshop, but I hope they pique your interest to look a little harder and dig a little deeper into MY favorite medium, the American comic book, and using my favorite tool, Photoshop.

If you have any questions or positive comments please feel free to contact either RetroSupply or myself. I’d love to see what you make as a result of this histo-tutorial (trademarked me--but not certified by the Comics Code Authority).

Feel free to follow me on Instagram and tag me if you post any of your work there.

About the Author

Christopher Sperandio is an artist, writer and university professor. In 2015, he founded the Comic Art Teaching and Study Workshop at Rice University (cats.rice.edu), where he teaches art and comics. Pinko Joe, Sperandio’s first graphic novel, was published by Argle Bargle Books in 2020 and called “laugh out loud hilarious” by Broken Pencil Magazine. Volume two of this series will appear in early 2021 via arglebarglebooks.com. Follow Sperandio on Instagram or visit his web site.