We’re always interested in the weird and wonderful ways our retro design goods can be used to achieve unique results. So we asked a bunch of RetroSupply friends to share their top tips, tricks and techniques for getting more from their favorite products.
Here, top designer Joe Andrus shares a crash-free tip for achieving the photo-realistic results you’d expect from your favorite RetroSupply Photoshop brushes in Illustrator.
“This hack came about because I do a lot work in Illustrator,” he explains. “As any designer who’s tried to use Illustrator brushes for texture work knows, it can become quite painful – mostly due to the number of anchor points needed to create large textures. This trick gives you the ability to work within Illustrator, while also utilizing the benefits of your favorite Photoshop brushes.”
“I prefer the photo-realistic sharp results produced by a Photoshop brush, as opposed to a vector brush,” he continues. “This gives you the best of both worlds: extremely detailed realistic textures, and of course fully editable vector shapes and colors, all within Illustrator. It’s also crash-free. This won’t bog down your system.”
 THE RETROSUPPLY BRUSH GUIDE FOR ILLUSTRATORS
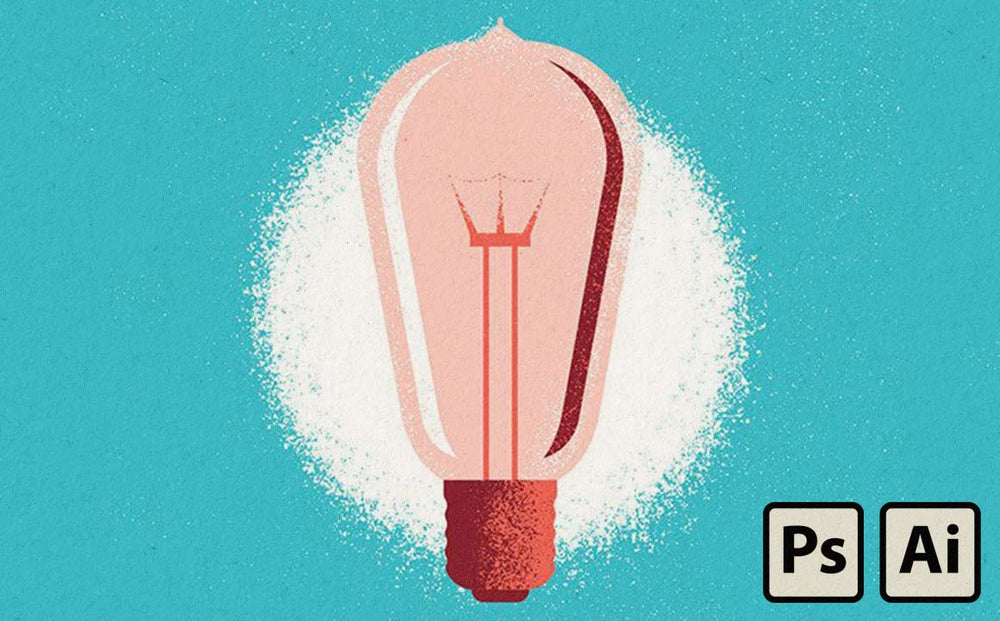
Don't have time to make your own Photoshop and Illustrator brushes? Here are some we made for you... You’ll find everything from chalk, ink and charcoal brushes to halftone, stippling, Golden Book-style brushes, and more.
How to create your own custom bitmap textures in Photoshop

Joe’s creative hack involves creating custom bitmap textures in Photoshop. In the steps below, he uses the Turbo Textures brush kit to make a total of four textures – but you can follow using any Photoshop brush as your source.
“The Turbo Textures pack is my absolute favorite pack,” he says. “It’s what led me to RetroSupply in the first place, so that’s what I’ll be using in this example.”
Here’s how to make your own textures for Illustrator…
01. Fire up Photoshop

Create a new 300dpi Photoshop document to the exact size of the vector art board that you want to add texture to. Then create two layers: one transparent for your texture, and one white for the background.
02. Create a range of textures

Make sure your brush is set to 100% Black, and begin to create a variety of textures using the Turbo Textures brush pack in black and white. In my example I’ve created four separate layers, a fuzzy circle, a darker gradient, some light flecks and a custom shape based on one of the vector shapes in my artwork.
The key is to just have fun and experiment here. Try using pressure sensitivity with your stylus if you have one. Just make a bunch of different textures that you feel would work for your individual piece.
03. Convert to greyscale

Once complete, save a copy of your layered PSD to keep on hand, as the process will involve flattening the file. Next, convert the file to greyscale: Image>Mode>Greyscale.
04. Create a Bitmap texture

Now convert your first texture to a Bitmap: Image>Mode>Bitmap. When prompted for resolution, keep Output at 300 Pixels/Inch; and Method at: 50% Threshold (or experiment with the different settings for a different effect). Halftones are great for that screenprinted look. That’s it, you’ve made a Bitmap texture!
Now save this file as a TIFF. This is important, because saving in TIFF format will allow for live color manipulation within Illustrator.
05. Open in Illustrator

Open and place each of your custom TIFF textures into your Illustrator file as desired. To change the color, simply select the texture by using the Direct Selection tool and choose the swatch of your choice.
To crop a texture to a specific shape, simply copy and then paste it within a vector shape by using the Draw Inside feature. (If you’re not on CC, you’ll probably have to use traditional clipping masks for cropping.)
We love being inspired by new ways of creating retro and vintage effects. And hopefully you do too. If this article sparks an idea – or you have a RetroSupply creative hack of your own – let us know!