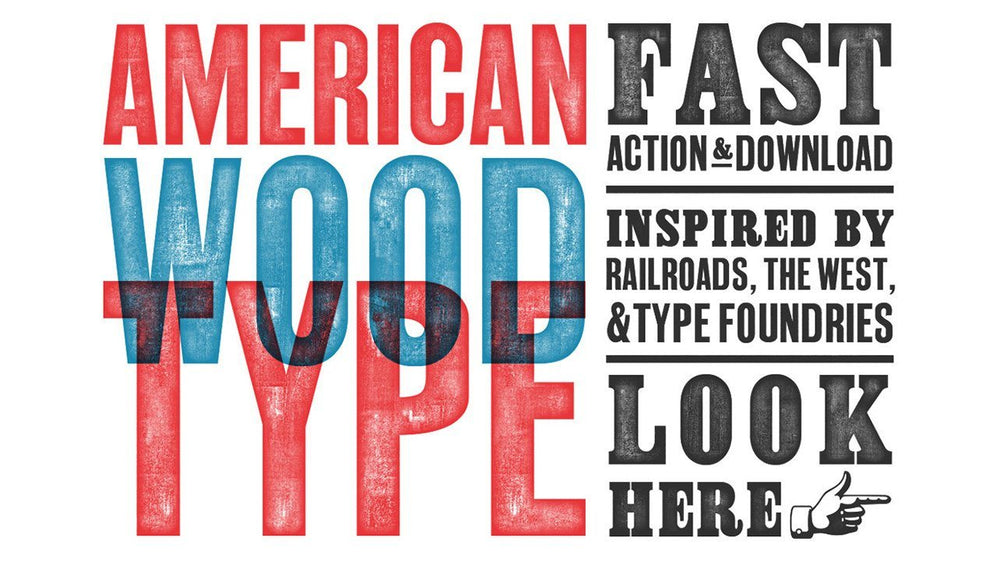
In the early 19th century commercial typography shifted from hand lettering to mass produced wood type.
For 100 years wood type was the most common commercial printing technique in America. Used in advertising, posters and signage.
In the 1920s the rise of offset printing technology resulted in the decline of wood type in commercial printing. Today only a handful of manufacturers still create hand set wood type prints.
This tutorial will walk you through how to achieve a wood type effect in Photoshop.
Want a fast and easy way to get American style wood type effects in Photoshop? The American Wood Type Action Kit gives you 18 different wood type effects instantly. Plus, you'll get 100% control over ink pressure and texture intensity. Purchase American Wood Type Now.

Step 1. Place your desired text in Photoshop
Whether you import your work or create your type in Photoshop, be sure that the type is on a layer separated from the background (or else the effect will apply to the background as well).

Step 2. Create a layer mask on the desired layer
In the bottom of the layers panel (with your work selected) click the rectangle with a circle inside of it to create a layer mask. This will allow us to add a non-destructive wood type texture to our work.
 Step 3. Fill the layer mask with a seamless wood type texture
With the layer mask selected choose Edit > Fill... Select Use: Pattern from the dropdown menu and select a seamless wood type texture. Here's a free texture from American Wood Type that you can use.

Step 4. Duplicate the layer
Duplicate the layer by choosing Layer > Duplicate Layer. Next, in the Layers panel of the new layer turn the Fill to 0%. Finally, select the layer mask on the new layer, right click and choose Delete Layer Mask.

Step 5. Add an inner glow to your new layer
We're going to add an inner glow to our work to simulate the darker ink on the edges of the wood type. With the duplicate layer selected choose FX > Inner Glow from the bottom of the layer panel. In the inner glow panel set the blending mode to Soft Light, Noise to 38%, choke to 35% and size to 27px.
Note: I'm working with a 8.5x11 inch canvas at 300 DPI. Your setting will need to be tweaked based on the size of the type and canvas of your work.

Step 6. Add additional colors or overlay effects
At this point you should have a realistic looking wood type effect. Now for the fun part, dial in the intensity of your textures and edge opacity to simulate the pressure of a real wood type print.
Once you're happy with your setting try creating other layers in different colors and layering them. You'll be amazed by some of the effects you can achieve by layering different colors, intensities and pressures.
In this example I've added a background layer with an off white paper color (#F7F2D9) and used a splatter brush from LetterCraft to add some stray ink.
Don't want to do all these steps yourself? Purchase American Wood Type and have your wood type effects created for you in seconds. Plus, you get 18 different wood textures built in and all effects are 100% customizable and non-destructive. Purchase American Wood Type Now.

