How to make a Retro Matchbook Design in Illustrator

How to make a Retro Matchbook Design in Illustrator

In this tutorial, you'll learn how to make a mid-century inspired matchbook cover design in Adobe Illustrator.

Whether or not you think you'll ever create a matchbook design for a client project, it's a great exercise.

Why?

Because creatives that designed matchbooks mastered the art of grabbing attention quickly. Then burning brands into the consumer's mind.

By studying and creating a few of your own matchbook designs, you'll learn to emulate some of the attention-grabbing techniques used by matchbook artists.

The art of grabbing people's attention and hooking a customer is valuable, whether you're designing matchbooks, posters, merchandise, or just about anything else.

Products used:

Step 1: Find Inspiration

For years now I have admired the graphic look of Mid-Century Matchbook cover art. The bold use of color, the simple graphics, the varied messages–whether they be political, environmental or just plain fun–have captured my attention and serve as my inspiration for this tutorial.

A collection of vintage matchbook covers with different motifs.

Image sourced from Flickr.

I started with an 8” x 10” art board set at 300 dpi in an RGB color mode, but you’re free to choose the size and color mode that works best for your project.

Step 2: CREATE THE ARTWORK

On a new layer create 4 equally sized and spaced rectangles and give them different individual colors.

Draw your artwork/imagery using the Pen tool for each image – being sure to put each image/motif on its own layer. Choose a sans serif font and add in the type.

TIP 💡 : You can use colors from your references by using the eyedropper tool.

Four squares of different colors with geometric outlined shapes and the words

Step 3: COLOR IT IN

Now you can begin changing the fill colors of the shapes and the stroke color of the line work. I used a gray background in my first design, so we could see the white line work and type.

A grey poster with geometric shapes of an eye, lightbulb, and trees. Text reads

Step 4: LINE IT UP

I used two different brushes from the DryGoods (brush SC4 - for thicker strokes) and VectorSketch (brush PN6 - for thinner strokes) brush packs for this tutorial (Hint: save some money and get the Vector Brush Toolbox which contains both packs and more!)

A poster design with simple motifs of eyes, a lightbulb, and trees. Text reads

Realistic Vector Brushes

The ultimate brush kit for illustrators. A collection of six of our best-selling Illustrator brush packs, this bundle includes every brush you’ll ever need for vector-based drawing.

Step 5. MULTIPLY IT WITH A BLENDING MODE

Some of the motifs (as selected below) have been set to Multiply. To do this, go to Window > Transparency > Multiply. I left the strokes and fills at the default of 100% opacity, but you’re free to make them as transparent as you would like.

Four posters in varying colors with geometric designs. Some shapes are selected and their transparency changed to multiply.

Step 6: RetroGrain IT!

This is where the magic begins to happen. I used several of the RetroGrain brushes to add some visual appeal to many of the vector shapes.

A screenshot of Adobe Illustrator with a poster design containing several brushes from RetroSupply co.'s RetroGrain.

Classic Grain Brushes

A collection of diverse grain texture brushes. Perfect for adding authentic gritty, grungy shading or adding soft and subtle grain textures to your work. Easy and fast results!

Step 7: CLIPPING MASKS

Clipping masks were applied in two different ways.

Then there’s the second method, with a couple more steps. Use this method when you have an object/shape that has a stroke on its edge. You will have to create an outline of that line/stroke and combine it with the object/shape it surrounds, prior to using it as a clipping mask.

Basic Clipping Masks – Method One

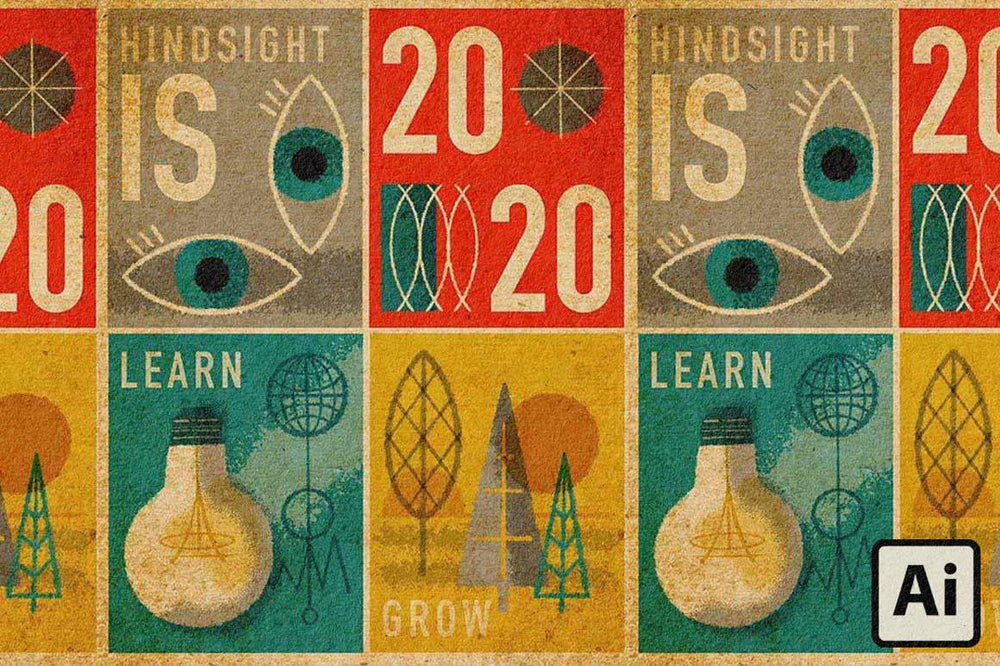
See: the items marked as 1 and 2 in the reference image below.

  • Step 1: Select the shape to be used as the mask,
  • Step 2: Make a copy of the object, CMD + C (Copy)
  • Step 3: Shift + CMD +V (Paste in place) and bring it to front Shift + CMD + ]
  • Step 4: Select both the object (on top) and the RetroGrain texture (below it), and proceed with making the clipping mask, Object > Clipping Mask > Make or use the shortcut CMD + 7

Clipping Masks with strokes on edge of shapes – Method two

See: the items marked as 3 - 6 in the reference image below.

  • Step 1: Select the object with line work, Object > Path > Outline Stroke
  • Step 2: While it’s still selected go to Object > Compound Path > Make or use the shortcut CMD + 8

Note: In the event the Compound Path doesn’t seam all the pieces together properly you may have to unite the paths first. In this case, select the object/shape, and select Pathfinder > Unite

  • Step 3: Make a copy of the object, CMD + C (Copy)
  • Step 4: Shift + CMD +V (Paste in place) and bring it to front Shift + CMD + ]
  • Step 5: Select both the compound shape (on top) and the RetroGrain texture (below it) and proceed with making the clipping mask, Object > Clipping Mask > Make or use the shortcut CMD + 7

There are some paths created with RetroGrain strokes that have been used without any clipping mask being applied to them. One was used as an overlay on the lightbulb to help create the feel of a glow and shadow, the other used to mimic landscape.

See: the items marked as 7 and 8 in the reference image below.

Four posters in different colors with simple geometric designs. A grain texture is placed over every element.

Numbers above correlate to the clipping mask methods outlined above.

Step 8: OUTLINE YOUR TYPE

To make the type to look older, it needs a bit of a fuzzy/blurred stroke around the edges. I used brush PN6 from the VectorSketch brush pack to add in a subtle stroke. I selected each block of type and selected TYPE > CREATE OUTLINES or Shift + CMD + O

Four poster designs of different colors with simple, textured, geometric designs including eyes, a light bulb, and trees.

Step 9: DISTRESS THE EDGES

Since I’m taking a stab at a vintage look - the edges of the four colored boxes can’t remain crisp and pristine. This is where you can play around a little bit more with the brushes. Use the Blob Brush tool to add a few strokes here and there – varying the brush size and style etc. to create some scratchy, distressed bits on the edges.

Adobe Illustrator with a poster design opened. The design is using RetroSupply Co.'s  vector brushes.

Step 10: YOUR AGE IS SHOWING

To further enhance the vintage/authentic look of a Mid-Century Matchbook cover I am going to apply one more, final layer. First find yourself a slightly scruffy textured paper. The Uncoated Matchbook texture in Phantom Paper is a great choice. Set your paper layer to Multiply (or transfer to your working document if using Phantom Paper) and adjust the opacity until you’re happy with the depth of its faux, aged look.

A screenshot of Adobe Illustrator with a poster design. Over top is a paper texture with its transparency set to multiply.

RICH, REAL-LIFE TEXTURES

Use our high-resolution, unique layering system to give your work the look of being printed on real paper. Instantly create beautiful textures for your digital art, print work, portfolio, website, and more.

I hope you had fun playing with the RetroGrain Shader Brush Pack, I know I did! If you create your own piece, be sure to share it on Instagram @retrosupply or #retrosupply

A distressed vintage style poster with four designs of different colors. Each design contains geometric shapes.